Laura: "Mom, can you make us a kind of waterproof cover for our metal shelf. We want to store stuff on it, on our patio, so it will need to be protected from rain."
Me: "Um, I think I could. Text me the dimensions and I'll search around for some kind of waterproof fabric, and let you know."
Off I go to my almost always go to first fabric source, fabric.com. And I find some stuff called polyurethane laminate or PUL. Here's the description from their website:
Description: PUL is a polyester/polyurethane laminated knit fabric with a laminate thickness of 1.00 mm. This fabric is waterproof, durable and has a slight crossgrain stretch. This product can be used in making diapers, changing mattress covers and applications that require waterproof fabric. CPSIA certified. Machine Wash Warm, No Chlorine Bleach, No Fabric Softeners, Dry Low Heat or Drip
It comes in lots of pretty colors, but they chose black. So 5 yards later, plus a 72" sleeping bag zipper from Atlanta Thread, I had a plan. Scroll all the way to the bottom for the finished product if you aren't interested in any of the technical mumbo jumbo.
From my last post, I may have given the impression that I never practice any new technique. That's not really true, and this project needed some practice. First, after purchasing some seam sealant from REI it had a diagram on how a tent seam looks (what one would use the sealant for apparently). Something like this:

If you are still with me, here's how it all came together. Needle used, a universal, I think size 80. Regular thread. Walking foot.
First I laid the fabric all out on the floor, and drew a 1/2" seamline on one side. Then, I placed the edge of the other side, overlapping to the chalk line and taped it in place. I had a helper.

Then, it took 3 passes to get the finished seam. The first one was basted, and frankly, the tape didn't stick well, but this was the only super long seam I would need to do. The other one had the zipper.
The second pass was pulling one side over the basted side so it looks like that little drawing above. Kind of hard to describe in words, and this picture is terrible. You are encasing the basted seam.


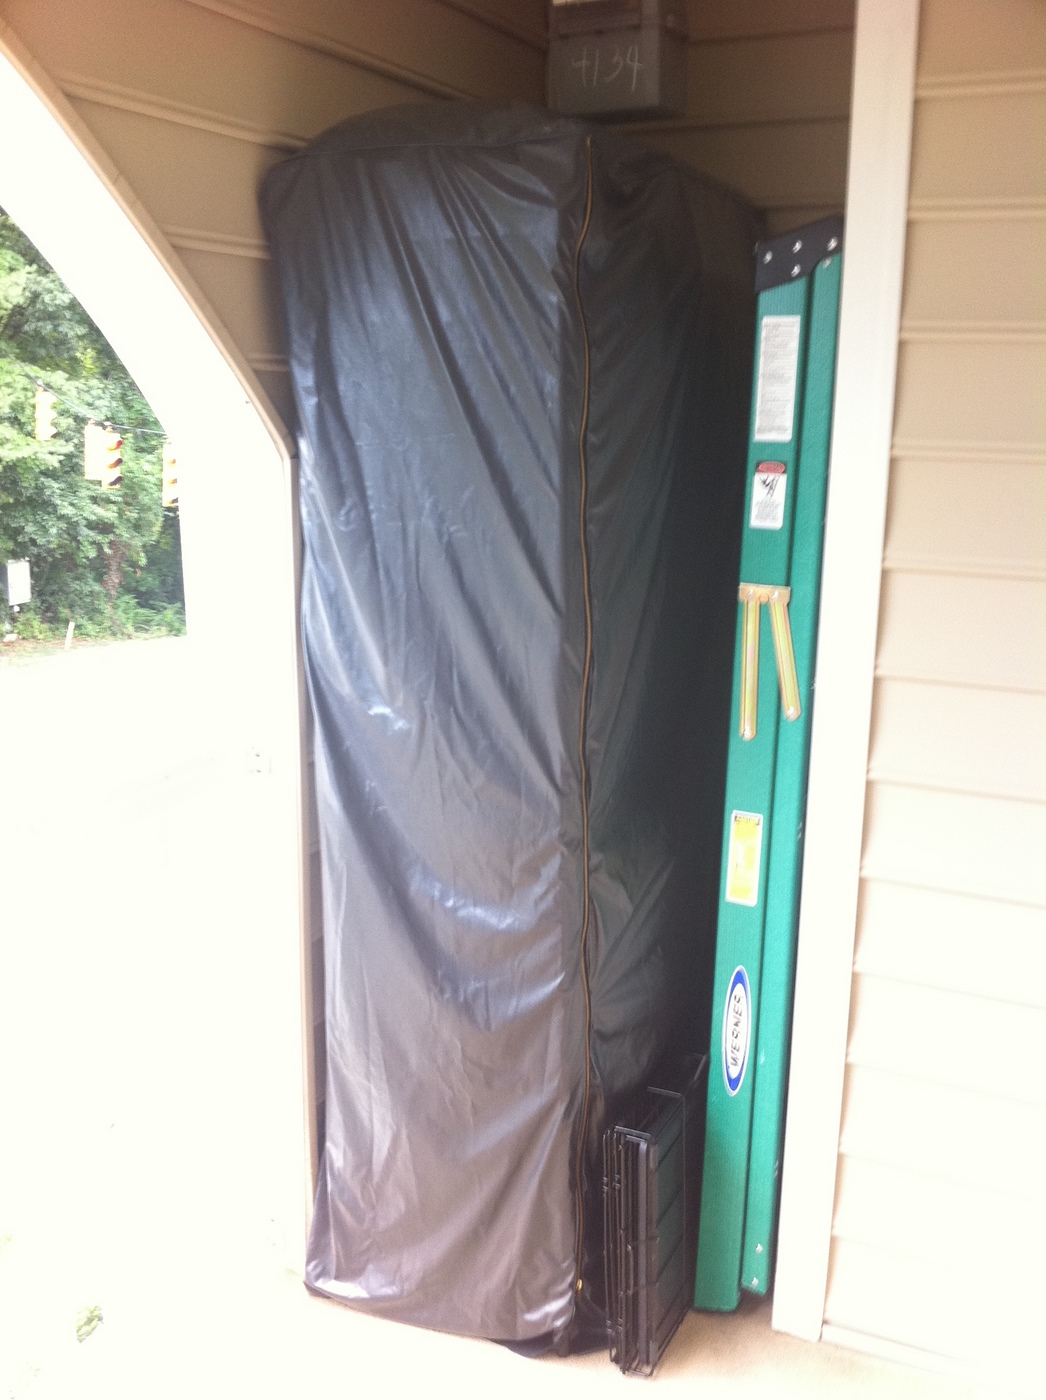
Spent some time outside just now to put on the cover! It fits great and have a nice amount of extra room to put some stuff on top and some bigger boxes that don't completely fit on a shelf. Should be great!
Also, it fits perfect if I don't have anything on the top shelf, but I've got some moving blankets on it now, so the corners droop just a bit.
Success!

Oh my, what a labour of love. It looks like you did an excellent job on this unusual project!
ReplyDeleteWow! It's so great you were able to make this for them! I've never sewn with that type of fabric and have always wondered what it was like! I love the photo of your sewing helper :)
ReplyDeleteI was just thinking that rain poncho I made, which I hate, would make a good body bag!
ReplyDeleteI would like to point out that Thomas was actually the one who requested it :)
ReplyDelete