Showing posts with label fitting. Show all posts

Monday, May 9, 2022

Making a Wedding Dress: Part 1


How it started...

The story begins on June 8, 2021. After trying on dresses at a popular salon, Laura and I had lunch and went over the options. She really liked one dress in particular, but just wasn't ready to commit to spending over $1400. I suggested that, if she wanted me to, we could probably create a beautiful gown for around $500. I wanted her to be sure, but the wedding was in October, so we would need to get started ASAP!

She said yes to the dressmaker, me, also known as mother of the bride and grandmother of the flower girl... there was going to be more sewing than just a bridal gown!

Getting just the right fit and style...

So off we went! She found a knock off pattern on Etsy, and I mashed together some patterns for the first muslin. No pictures of this because after the first try on (with pictures taken on her phone), she sent said pictures to her friends and it was a big NO. Back to square one.

She had a second choice dress from the try on session. Square neckline, deep scoop back, princess seams, full circle skirt with train. Simple enough, right?

So I made a second muslin.

Not too bad. Definitely had some issues. Then I started thinking. Not always a good idea in hindsight. 

I was concerned that where the center bodice met the side bodice/strap area at the square neckline, the satin, lining, potential lace would just be too much fabric. Of course I didn't decide to make any changes right away, but tinkered with this fit at least one (maybe two?) more time before going with a design that had the princess seams curve and end at the armholes instead of the neckline.

I bought real muslin! Things were getting serious now. A princess-seamed fitted bodice combined with a bride that (rightly) wanted it just so meant I really needed to get to work. 


July

More muslins, more fittings. She worked from home, so popping in for a quick try-on was easy enough.


The straps in the back seemed to be the hardest thing to get right.


Eventually, you just have to say... this is it! We can work with this one!


And so it was on to the buying of the fabric! Coming up in Part 2.


Thursday, February 9, 2012

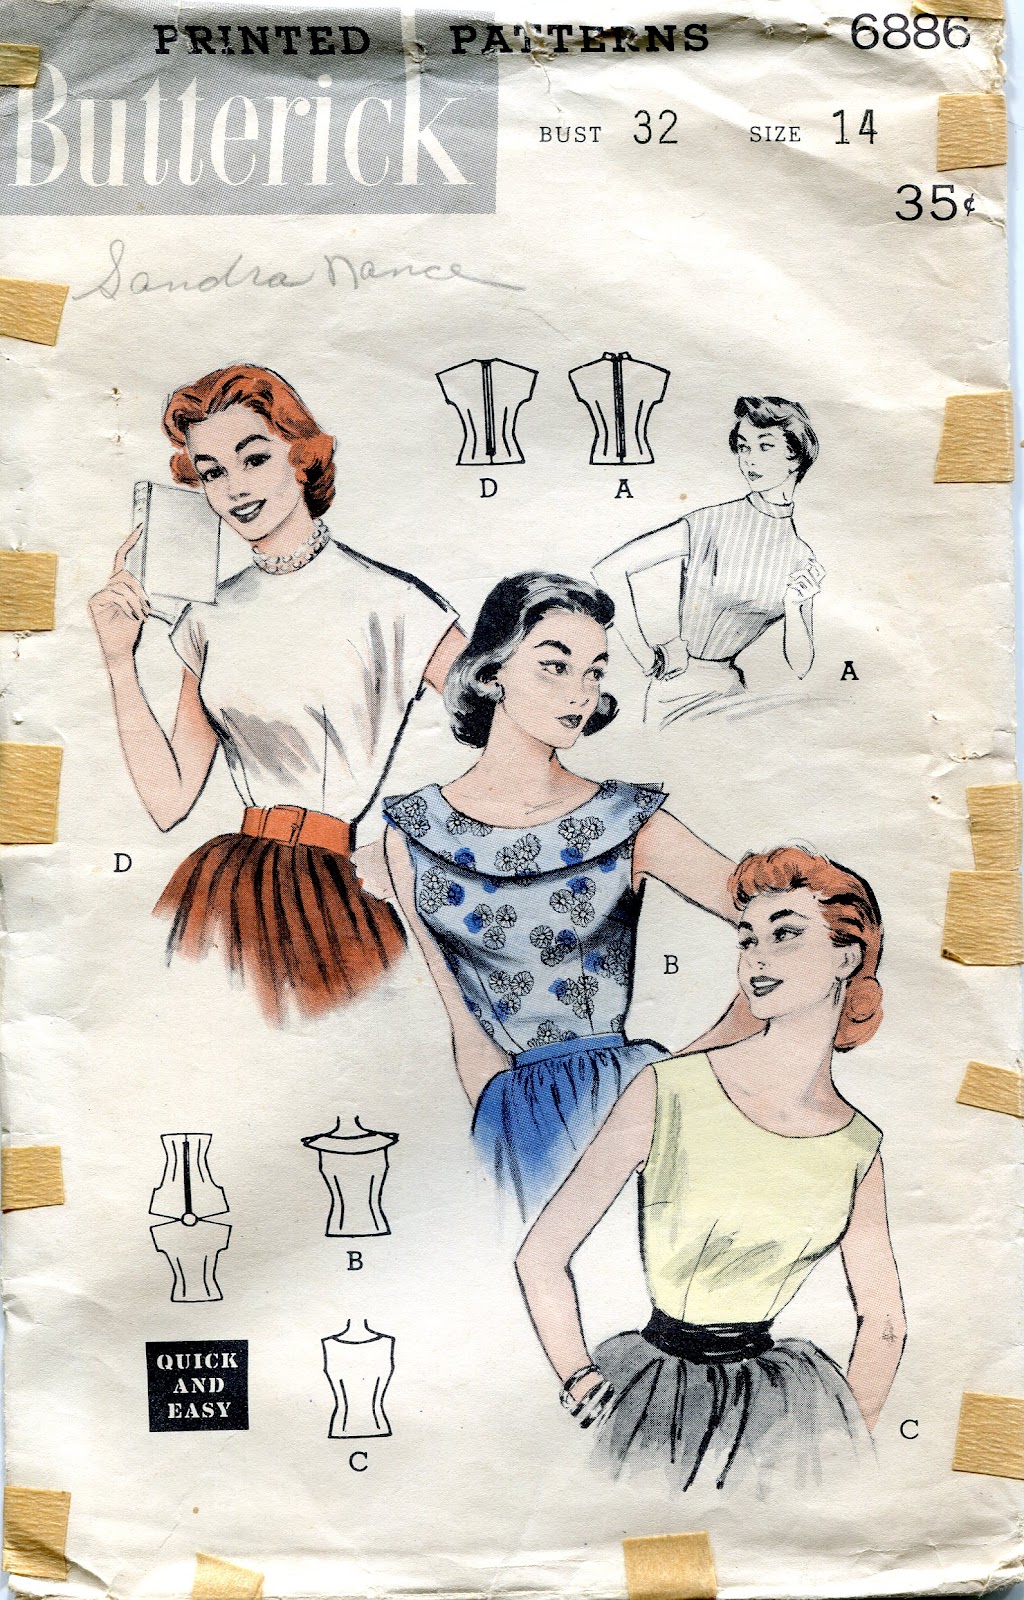
Fitting A 1950s Blouse

Tuesday, I showed off my new blouse, made with Simplicity 4530.
The good news about this pattern, is that I am a Bust 36. But let's look at the rest of the measurements... waist, 30"; hip, 39". My measurements in both those areas are about 5" bigger, give or take. So, how did I go about getting this blouse to fit?


I started by tracing the pattern pieces. When I know I have to do a lot of alterations, whether a vintage pattern or a new, I trace. It has happened that I start cutting and slashing so much that a lot of distortion happens, and I want the original just in case I have to start over, or to compare what the shape is supposed to be. Also, I start losing where notches, etc. are.


OK, I trace, and then do a preliminary tissue fitting. I know the waist and hip is too small, but will I need to make any changes from shoulders to bust? After that, I altered the tissue to add 5" to both waist and hip, and made a muslin. Way back in December, I talked a bit about the muslin, and just click here to go back and read that.


After the muslin, I needed to do some final tweaking to the tissue, and that's what I'll show you now. The great thing about this pattern is that there are basically 2 pieces, the front and the back. There are front and back facings, and a cuff (which I used 3/8" seam allowances on) but only adjusted as necessary to match the adjustments to the main pieces.


The Front


If I'm adding 5" total, divide that by 4 (2-1/2" for the front, 1-1/4" for each front side). That seems much more manageable. Since each piece represents only 1/4 of your body. I'll take it step by step.


1. I shortened the sleeve by 3/4". I'm 5'3", so it worked for me, but I really did it so that I could cut the fabric doubled, and not in a single layer, cutting twice. Lazy or efficient, your call.


2. (Ignore the 'x' where I originally lowered the dart 2"). This shows the dart, lowered 1".


3. Instead of just adding 1-1/4" to the side, I did some slashing and spreading. This area is 3/8" added between the darts. Another method of adding width is to narrow or eliminate the darts, but I wanted to keep them. Making them a little further apart makes it more proportional.


4. Here, if I remember correctly, at the hem, the added amount is 3/4", tapering to nothing at the area which would be above my natural waist where I don't need extra width.


The Back


The back is a little more complicated.


1. This is a wedge taken out for my sway back alteration. It tapers to nothing at the side seam.


2. The wedge distorts the center back seam, so it must be re-straightened. The angled line at #2 is also the original hemline.


3. The wedge taken out in #1, is added back in at the hem. If you don't do this, your hemline pulls up oddly.


4. The darts. Again, you can eliminate these, but I like the fitted look. I did narrow them about 1/4" each (1/8" for each "leg" of the dart). I also spread them apart like I did in the front. Also, after doing the sway back wedge, I had to make the darts straight up and down again.


5. This is like the slash and spread on the front, spreading more at the hemline, tapering to nothing at the top.


6. This wedge of tissue is also re-added to the side. It was an area also affected by the sway back wedge.


7. Again, I think this is pointing to the line where I cut the piece to manipulate the darts, add wedges, etc.


Basically, the sway back alteration pulls and distorts, and pieces of tissue have to be added back in or taken out to straighten things back out. It's confusing, but it works.


Finally,
I matched the gingham by placing the tissue over the fabric, and then drawing the pattern onto the tissue, then I confirm that everything matches. Also confusing, but it works.


I hope all that made sense. If you have any questions, leave them in the comments, and I will reply in the comments so be sure to check back.


Simplicity 4530 sold on Tuesday to a lovely sewist from Canada. Other 1950s blouses still in the shop include:

Monday, July 12, 2010

Skirt Making

First, thanks for the birthday wishes. It was actually my husband, Roland's, 50th yesterday. I turned 50 *ahem* several months ago, and Gwen, you're darn right... it's the new 40 (oh, can't it be the new 30?!).

So, making skirts. How hard can it be? Actually, making a skirt is pretty easy. You don't even need a pattern. Really. It's the fitting. And right now, I'm having a wee bit of a body image crisis, which is frustrating me on so many levels. But I really want a denim skirt. You know, to wear instead of shorts during this hot, Georgia summer.

I picked a pattern, mostly because Simplicity patterns were on sale for $1.99 at Joanns, and this one had pockets:
Doesn't she look cute? Of course she does, because everyone who wears a size 4 looks cute, don't they?

A few problems I encountered... I don't like having my skirt be as wide as it is long. Blerg. And the denim, while lightweight, was not really drapey enough for the flippy skirt but I made it anyway. Even the cute, little tabs. But I didn't put the buttons on them because I decided for now a shirt would not be tucked in. I did use a lighter weight cotton for the pocket facings and for the yoke facing so those areas weren't too bulky.

Good sewer that I am, it's well made, and I'm even wearing it today in spite of my dislike for it, but there you go. Take a look at the side view:
It kind of tucks in around the thighs while I'm wearing it, just like on the dress form. It's not as noticeable if my shirt is out. Another problem with it is that it is actually too big in the waist, but I was so paranoid about it being too tight that I overestimated, even when I did the pin fitting. Blerg, again.

I've started a new walking campaign, to combat those pesky body image problems, and I'm going to try again. I bought some even lighter weight denim at Hancocks, and I plan to just make an a-line skirt with an elastic waistband. No pattern necessary.

Hopefully, I'll have happier news to report after that skirt is done!

Monday, March 1, 2010

Having a Fit over Fit

I've mentioned this book before, Fit for Real People, by Pati Palmer and Marta Alto, and I'm mentioning it again because it really has SO much great information for fitting patterns. I used to be a size where I could take a few measurements, pick a pattern, and go. Sadly, those days are over, and this book is helping. I'm ready to make this Butterick pattern.
 

But I purchased it before I had ready the book. Here was my mistake. I bought the pattern to fit my waist and hip which is completely contrary to the book's advice. "Buy to fit your top and alter the bottom." OR "Buy two patterns if necessary." When you see the hatchet job I did to the top pieces, you'll see that I should have just gone and bought the smaller pattern and saved myself tons of time. Here's the evidence:


And the sad thing is, I need to add just a bit more length to the whole darn thing. I discovered that after making a muslin. Unnecessary according to Pati and Marta, but I had chopped and taped so much, I decided I had better do just that.

It's really not that bad, but I'm going to do just a teeny bit more tweaking, including making it about an inch longer. I won't tell my friend that helped me though. I think she's decided I have lost my mind. Tomorrow, I'm cutting it out!

Saturday, February 13, 2010

Pin Fitting

I bit the bullet and cut out the fabric. I've never really been afraid of the cutting out, so I jumped right in. Following the instructions of my Fit for Real People book (by Pati Palmer and Marta Alto) the next step is pin fitting.


Some observations:
Pinned with the seams on the outside, a normally dumpy body looks... dumpier.

Pins are sharp. I pinned the front darts on the inside since that's where the markings are. Um. Ouch.

The shoulders still seem too wide, but I have to remember that the seam allowances are not being taken up. A thing to remember when I'm thinking that it is still choking me.

The shoulder seam adjustment... I don't like it, and will go back to the way it's originally drawn.

I won't really need the "just in case" extra, though I may use just a smidge.

Not sure what length I want. This is obviously unhemmed, but too long (I suppose that's a good thing as I'll need some extra length for hemming).

Also, there was something weird with the back yoke. Hard to explain, but maybe when I put the shoulder seam back where it's supposed to be it will be fixed. If not, I have another idea.

Cute socks. It was snowing outside.

Wednesday, February 10, 2010

All About the Fit

Why do you sew? Why do I sew? It's fun for one thing. Creative. Satisfying. I know how to do it.

Those all sound like good reasons, and, once upon a time, I would just buy a pattern, make it, and amazingly, it would fit. I don't remember doing a lot of measuring or fitting, but I was young and thin, and yeah, it just worked.

Now, I try on lots of RTW dresses, and they don't fit. Why? Because I'm not young and thin anymore, and my body is different sizes all over. I can buy separates, but when I want a dress, it's pretty much guaranteed that I'll need some alterations.

So, back to sewing. I've been studying the Fit for Real People book, and it's all about the tissue fitting. I've done the first fitting of my 1960s Twiggy dress. I'll spare you the picture of me in my underwear wearing half of a tissue dress, but it was enlightening, and yep, needed some fixes. Mostly to the yoke which was too long, and the shoulders were too wide.


I've made a 1/4" tuck in the front and back yoke (for 1/2" less), and I redrew the outside of the shoulder/armhole seam. I haven't tried on the new version yet, so I'll have to get back to you on that. And I know I'll have to make some adjustments to the sleeve. Later. Later. I still might lower the neckline in the front because it was a little choking, but I want to see if the tuck helps with that. Oh, and I added extra tissue to the sides so that below the waist I can have a 1" "just in case" seam allowance. The tissue appeared to fit, but I don't want it too snug.
It's all about the fit.

LinkWithin

Related Posts with Thumbnails