Wednesday, February 29, 2012

Mad Men Challenge Pattern Choices

Before I dive into this post, just want to point out that I have activated the reply ability in the comments, so if you ask a question, that's where you can check back for an answer.


Okee-dokee. Where were we? Choosing a dress for the Mad Men Challenge. Well, frankly, I love them all, and may attempt to make, well, more than one of them this spring and summer, but no guarantees. For the challenge, I'm seriously leaning toward the black dress, for the simple reason that I can easily find black fabric. Is that cheating? Hmmm, no. I don't think so. For a review of the actual dress inspiration photos, go here or scroll down a little, it's just the post before last.


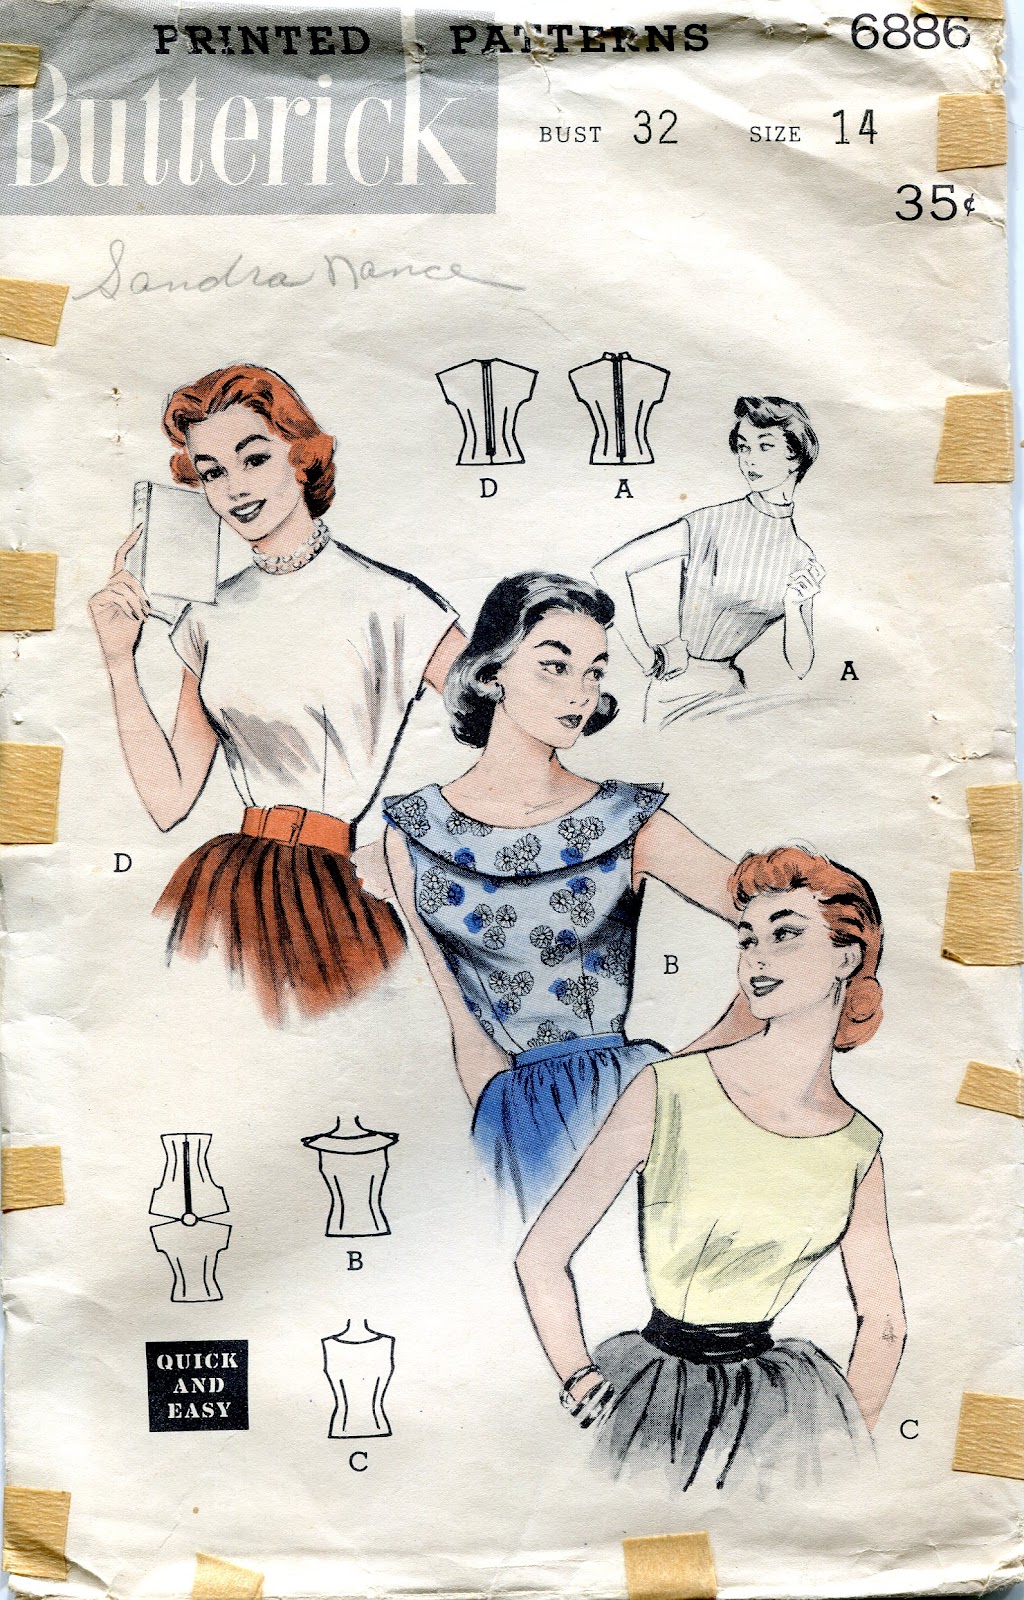
I spent yesterday tracing. I have an ample supply of vintage patterns, and I found 3 that may just work for several of the looks.


Simplicity 4003, a basic shirtdress. Mrs. Draper certainly wears a lot of these, and I do love the bodice on this one. Not as crazy about the skirt and the side zipper. Seriously, what is the point of buttoning up the front if you have to zip the side too. But this one has the simple, no yoke bodice silhouette, and 3/4 length sleeves for fall. I have other shirtdress patterns to look at, and will adapt the button opening to extend into the skirt, and really, make a much fuller skirt (possibly).


The sheath/wiggle dress from Butterick 2881 is the basic silhouette for many of Joan Holloway's dresses. The teal one is no exception. It does appear to have a wrap/tie style jacket over it, or perhaps she's wearing a skirt, top, jacket (but I don't think so). I have another pattern with a perfect buttonless jacket with a collar that I have plans for. Just a bit of tinkering might make it work (I haven't scanned it yet, but soon. Also, for that teal dress, I'm just not sure what fabric to make it out of. Any suggestions?


Finally, for the LBD, Simplicity 7509, which is about as basic as it gets, and is the perfect template for adding embellishments. It is basically a sloper, to get a perfect fit, and then make changes. If you read Carolyn's blog, you'll know that this is exactly what she does with her TNT dress pattern. If you don't read it, go check it out... she is a wealth of information.


Where was I? Oh yeah, I've got some ideas to play around with the cut out, so I hope to get a muslin made by early next week. The bonus of all these patterns for me, is that they are all my size.  I've traced them all though, so if you're still looking for your Mad Men Challenge pattern, they are available. Use the code MADMEN10 for 10% off! (You lovely readers can use that code for any of the patterns in my shop, not just these).

Monday, February 27, 2012

The Imperfect Ponte Pant

I had such high hopes. I used my already fitted Colette Clover pattern, and purchased some lovely navy ponte knit from FabricMart. Of course they would turn out fabulous, right? Not so much.


I'm only giving you one picture, so let's save it til the end, m'kay? Scroll down if you just can't wait another second, but if you can wait, here are some highlights and lowlights, in no particular order.


  • Decided on some pockets, a la Sallie. I think it was the ponte, but I do take some responsibility.
  • There are pockets, but they have been sewn shut.
  • The pants turned out oddly high waisted. I scooped out about an inch and a half down in the front, because the back seemed fine.
  • The back really isn't fine, needs to be just a bit lower.
  • Decided on the side zipper, but not an invisible one.
  • I caught some skin when wearing my other pair of clovers that do have an invisible zipper. Ouch. Plus, I live in fear of invisible zipper failure.
  • Decided to do a lapped regular zipper.
  • Ripped it out one time.
  • Re-inserted. Yikes, it was oddly lumpy in places where I don't actually have lumps.
  • Ripped it out again.
  • Decided on NO zipper. With the knit, I can pull them on.
  • The inside looks like a dog's breakfast. (I love that phrase, I hope I'm using it correctly... like is it A dog's breakfast, or just dog's breakfast?)
  • No one can see the inside, thankfully.
  • Ponte doesn't fray.
  • I made a blind hem. It looks great. They are maybe a tad long. That's ok.
  • I'm not sure I'll wear them in public.
  • Then again, they would be really comfortable on a plane trip.
  • Still. Maybe they will just be house pants.
I know. Super cute shoes, right?!

Friday, February 24, 2012

Mad Men Challenge: What to Make?

Two challenges/sew alongs (the Minoru and the Ruby Slip) recently committed and I'm ready for another one. The badge is already there... the Mad Men Challenge. Step 1 is what to make! So many gorgeous dresses and outfits make their appearance on Mad Men, but I want to choose one that will fit into my 2012 lifestyle. Then the challenge will be to find a pattern or patterns, and finally fabric. The fabric might be the hardest part! Oh, yeah, and narrowing down the choices.


Let's get right to those choices and see what I'm thinking about (in no particular order):
source
Betty in dots. Cute, but maybe too cute. I do like the simple style though.
source
Betty loves a good shirtdress for daytime wear (at least in the earlier seasons when she was married to Don). I love the sleeveless ones, there's a peach one that I found, but this is my favorite. Finding a good stripe will be the challenge though.


source
More dots. Off white sheath with an adorable dotted sash. Less opportunity for wear for me though.


source
I love the one on the right. Especially the color.


source
Granted, a dressy, going out dress. But I have "make a LBD" on my  list of things to make, so it would be crossing off 2 things with one dress. Win-win! Of course, this might not be my final choice.


Which one do you like? Are you doing the challenge?


Tuesday, February 21, 2012

Finished: The Ruby Slip

Check another challenge off the list! Yesterday, I finished the ruby slip that I started with Sherry's sew along way back in December! But the holidays happened, and then I had to send my serger off to the repair guy, and then, and then... you all know how that works.


The slip is actually a quick sew, and once I sat down to it, I think it was done in about an hour.


Not a lot to say about it. It's been awhile, but I think I cut the size 12 and didn't make any alterations. Next time (and there will be a next time) I'll make the back a little bit narrower and put the straps a little closer together in the back and that will help with the fall off the shoulder issue. Oh, almost forgot... Sherry had 2 lengths in her pattern, and I created a 3rd that was somewhere between her 2. It hits right above my knee. Sshhhh, don't tell Sherry, but I just eyeballed it when I was tracing the pattern. Oh, sure, I did go back and do a quick measure to make sure it was right.


The little pink flower thing you'll see. Yeah, I think I'll take that off and just put on a little ribbon bow.


Monday, February 20, 2012

Finished: The Sewaholic Minoru Jacket


Yep, I "participated" in the Sewaholic Minoru jacket sew along. And by participated, I mean that I made my Minoru jacket at the same time that the sew along was happening. Only a lot quicker. And this is not a criticism of the sew along, but more of an issue of when I could actually sit down and sew.


Never mind that, though, and let's just get on with seeing the pictures and some observations. First, my fabric is a raincoating from Gorgeous Fabrics, and the lining is from fabric.com. With that out of the way, here ya go complete with observations:


  • this is definitely not a beginner pattern. With the sew along, advanced begginer. Without it, intermediate at least.
  • my semi-plasticky raincoating frayed a lot.
  • if you look closely, you will see that the hem doesn't line up in the center front.


  • I cut the size 12, and only made one alteration
  • I shortened the sleeves by 2-1/2" inches!
  • my cuffs look a little weird. I think that's more of a fabric issue.


  • I love the collar with the zipper and hidden hood.
  • did you read about my fraying fabric?
  • I should have lined the hood, even with the finishing of the seam.
  • it is quite possible to iron this raincoating fabric, even without a press cloth. From the line going horizontally across my butt, it appears that I missed a spot.
  • I didn't add the inside pocket because with all the coats I've ever owned with inside pockets, I've never used them.
  • I think I used the wrong side of the lining as the right side. It was hard to tell. Oops.
  • my inside hem looks, well, pretty bad. Did you read about the uneven hem meeting in the front? All related.
  • I did put outside pockets in the side seams. I can't have a coat without them.
  • I put them a little bit too low.
  • Can you tell that I'm actually wearing it in the rain?
  • though entirely functional, I look dumb with the hood up, and this is the best pic I have of it being worn. None from the front.
  • I love the length.
Conclusion: it's a great jacket pattern! I particularly like it in this lightweight version. If I were to make it with a bulkier fabric/lining, I would go up a size, and then make a better adjustment to the back length so it didn't get too bunchy.

Sunday, February 19, 2012

Feeling Crafty!

Whoa!! Where did last week go? I was certainly not here blogging, that's for sure! I was, however, doing a bit of sewing. And while the sewing studio is not quite ready for it's "grand reveal", I think this week I'll give you a few peeks.


On Friday, Roland and I were invited to another couple's house for dinner, and instead of the usual bottle of wine hostess thank you, I decided to make some potholders. I had seen some on Pinterest that led to a tutorial, but let's face it folks, I've been sewing for such a long time, that I just made it up as I went along. Oh, and I've made potholders before. I even had some of that insul-brite batting that makes them REAL potholders!


Here's the quick and dirty "tutorial" of how I made these:

  1. sewed strips of batik quilting cotton together.
  2. cut 4 7-1/2" squares
  3. made a little "hanger" out of one of the strips by folding it in half, pressing, then folding in the edges to the center, encasing the raw edges, and pressed again. Secured it with a line of stitching. You could use a ribbon, or bias tape.
  4. pinned the hanger to the right side of one of the squares. Yep, the red one came out just a little "off"
  5. layered batting, square, square (the squares are right sides together), batting. Pinned.
  6. sewed around the edges, leaving enough open to turn it.
  7. turn it right side out.
  8. poke out the corners and press.
  9. topstitch around the edges to close the opening.
  10. Optional: do some more machine quilting. Maybe a grid, or just some meandering stitching. I did neither.
Our friend (more of an acquaintance to me) was Thrilled! And so impressed. And so appreciative. Sometimes just being able to make something easy reaps huge rewards. I think the whole thing took me about 2 hours.

I'm wrapping up my Sew-Along challenges this week. Tomorrow, I'll be "revealing" my Minoru jacket. And I hope to finish that darn Ruby Slip this afternoon. My serger is finally home!! Stay tuned!

Thursday, February 9, 2012

Fitting A 1950s Blouse

Tuesday, I showed off my new blouse, made with Simplicity 4530.
The good news about this pattern, is that I am a Bust 36. But let's look at the rest of the measurements... waist, 30"; hip, 39". My measurements in both those areas are about 5" bigger, give or take. So, how did I go about getting this blouse to fit?


I started by tracing the pattern pieces. When I know I have to do a lot of alterations, whether a vintage pattern or a new, I trace. It has happened that I start cutting and slashing so much that a lot of distortion happens, and I want the original just in case I have to start over, or to compare what the shape is supposed to be. Also, I start losing where notches, etc. are.


OK, I trace, and then do a preliminary tissue fitting. I know the waist and hip is too small, but will I need to make any changes from shoulders to bust? After that, I altered the tissue to add 5" to both waist and hip, and made a muslin. Way back in December, I talked a bit about the muslin, and just click here to go back and read that.


After the muslin, I needed to do some final tweaking to the tissue, and that's what I'll show you now. The great thing about this pattern is that there are basically 2 pieces, the front and the back. There are front and back facings, and a cuff (which I used 3/8" seam allowances on) but only adjusted as necessary to match the adjustments to the main pieces.


The Front


If I'm adding 5" total, divide that by 4 (2-1/2" for the front, 1-1/4" for each front side). That seems much more manageable. Since each piece represents only 1/4 of your body. I'll take it step by step.


1. I shortened the sleeve by 3/4". I'm 5'3", so it worked for me, but I really did it so that I could cut the fabric doubled, and not in a single layer, cutting twice. Lazy or efficient, your call.


2. (Ignore the 'x' where I originally lowered the dart 2"). This shows the dart, lowered 1".


3. Instead of just adding 1-1/4" to the side, I did some slashing and spreading. This area is 3/8" added between the darts. Another method of adding width is to narrow or eliminate the darts, but I wanted to keep them. Making them a little further apart makes it more proportional.


4. Here, if I remember correctly, at the hem, the added amount is 3/4", tapering to nothing at the area which would be above my natural waist where I don't need extra width.


The Back


The back is a little more complicated.


1. This is a wedge taken out for my sway back alteration. It tapers to nothing at the side seam.


2. The wedge distorts the center back seam, so it must be re-straightened. The angled line at #2 is also the original hemline.


3. The wedge taken out in #1, is added back in at the hem. If you don't do this, your hemline pulls up oddly.


4. The darts. Again, you can eliminate these, but I like the fitted look. I did narrow them about 1/4" each (1/8" for each "leg" of the dart). I also spread them apart like I did in the front. Also, after doing the sway back wedge, I had to make the darts straight up and down again.


5. This is like the slash and spread on the front, spreading more at the hemline, tapering to nothing at the top.


6. This wedge of tissue is also re-added to the side. It was an area also affected by the sway back wedge.


7. Again, I think this is pointing to the line where I cut the piece to manipulate the darts, add wedges, etc.


Basically, the sway back alteration pulls and distorts, and pieces of tissue have to be added back in or taken out to straighten things back out. It's confusing, but it works.


Finally,
I matched the gingham by placing the tissue over the fabric, and then drawing the pattern onto the tissue, then I confirm that everything matches. Also confusing, but it works.


I hope all that made sense. If you have any questions, leave them in the comments, and I will reply in the comments so be sure to check back.


Simplicity 4530 sold on Tuesday to a lovely sewist from Canada. Other 1950s blouses still in the shop include:

LinkWithin

Related Posts with Thumbnails